Buying Guides and Ownership Essentials
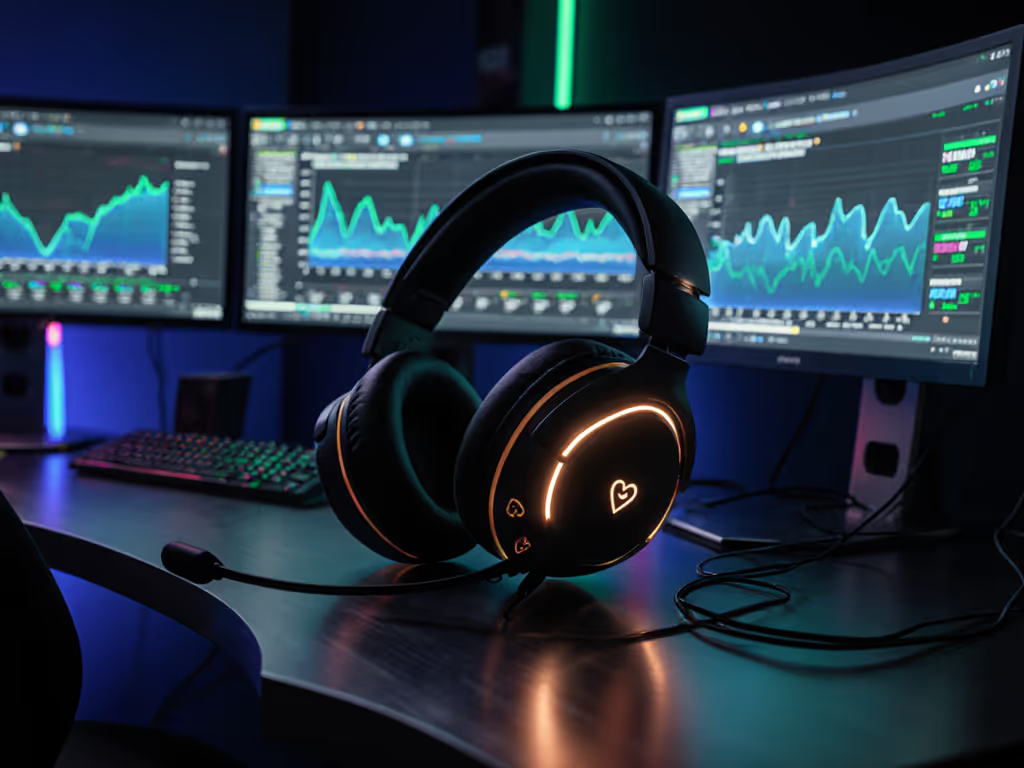
Modular Gaming Headsets: Long-Term Value Guide
31st Mar•11 min read
Gaming headset calibration guide principles shift dramatically depending on what you're playing. A gaming headset calibration guide and audio optimization for game genres aren't one-size-fits-all propositions, your EQ needs look entirely different in a competitive shooter than in a story-driven RPG. The problem is that most players never recalibrate, they just accept whatever the manufacturer's "gaming" preset ships with. That's exactly where clarity dies.
I learned this the hard way years back. A firmware update hit my preferred headset mid-raid and silently rewrote my sidetone profile. Overnight, my team couldn't hear me properly, and I had no idea why until I dug into driver logs and realized the update had reset everything to defaults. That incident became my turning point: I started mapping calibration checkpoints, building portable profile templates, and keeping rollback paths documented offline. It reshaped how I think about audio setup (stable comms are invisible; broken updates are loud and late).
Today's article walks you through a switch-fast workflow for tailoring EQ settings for gaming to your actual playstyle, how to test what works, and how to preserve your settings across platform swaps and software updates.
Headset audio clarity depends on three core frequency bands, each tied to a specific type of in-game information you need to hear.[1] Understanding these zones is the foundation of any calibration.
Footsteps and body movement live in the 150-400 Hz range. This is the thud, the bump, the physical presence of an enemy crossing a room.[2] When this zone is murky or boosted too hard, footsteps either disappear into the bass or sound like distant thunder (both kill positioning accuracy).
Presence and texture occur around 1.5-3.5 kHz. This is where voices, weapon mechanics, and environmental detail sit. A well-tuned presence peak here makes teammates' callouts pop without sounding harsh, and it lets you hear reloads, pin clicks, and door handles.[2]
Edge and definition emerge at 4-5 kHz and above. This is crispness, the shimmer that separates a distant gunshot from a close one, the treble that makes high-frequency cues like radar beeps or healing tones unmistakable.[2] Too much boost here and you'll fatigue within an hour. Too little and subtle audio cues vanish.
Beyond these, frequencies below 250 Hz often carry rumble and low-end mud that masks the critical zones. Trimming this region slightly improves clarity without sacrificing immersion.[1]
Your brain prioritizes audio differently depending on the game's demands. A genre-specific audio strategy recognizes this and adjusts accordingly.
Competitive shooters (CS2, Valorant, Apex Legends, Warzone) reward aggression in the midrange and treble. Footsteps matter more than atmosphere. Your EQ should emphasize the 1.5-5 kHz zone to isolate directional cues, detect weight shifts, and track multi-enemy positions. A slight bass reduction (-2 to -3 dB below 250 Hz) clears the mud so every footfall reads clean.[1] If you're choosing gear to match this profile, our best FPS headsets roundup prioritizes footstep separation and positional accuracy.
Tactical squad games (Rainbow Six Siege, Escape from Tarkov) need the same footstep clarity but also demand room ambience and mechanical detail. Your boost in the 1.5-3.5 kHz range stays, but consider a gentler touch to avoid fatigue during long reconnaissance phases. You're listening for both immediate threats and environmental setup, so balance precision with endurance.
Story-driven and cinematic experiences (Baldur's Gate 3, Elden Ring, Alan Wake 2) benefit from a broader, richer mix. A gentle bass boost (60-150 Hz) adds weight to orchestral scores and explosions, while the midrange stays moderately boosted for dialogue clarity. This isn't about advantage; it's about immersion without harshness.[1]
MMOs and open-world games (Final Fantasy XIV, Guild Wars 2) sit in the middle. You need team comms to shine, but the soundscape matters too. Aim for a balanced midrange push without heavy bass cuts; preserve the ambience while keeping voice chat crisp.
Calibration should follow a checklist-driven process to avoid false starts and ensure you can rollback if something breaks.
Before touching anything, take screenshots or notes of:
This is your rollback reference. Store it offline or in a note file you can restore from.[4]
Pick one game and one map or scene. Use the same content each time you adjust. In competitive shooters, this might be a practice bot round on a known map. In story games, a repeatable scene with consistent audio (dialogue, ambient noise, effects).
Why? Because your ears adapt quickly. Switching songs or levels between tweaks fools you into thinking changes worked when they're just novel. Consistency breeds accuracy.[3]
Start with a proven baseline for your game type rather than guessing. For competitive play: boost 1.5-3.5 kHz by +3 to +5 dB and 4-5 kHz by +2 to +3 dB. Reduce below 250 Hz by -2 to -3 dB. For narrative and cinematic games: gentle +2 to +3 dB at 60-150 Hz, moderate +2 dB at 2-3 kHz, avoid extreme treble peaking.[1]
Use software like Equalizer APO with Peace (Windows) or SoundSource (macOS) for broad, surgical control. Many gaming headsets bundle their own EQ app; use it if it offers parametric bands (peak/dip control), not just preset names like "Bass Boost."[4]
This is the hands-on part. Play your test content and listen for frequencies that sound harsh, honky, or overly resonant. Use a narrow Q setting (high value) to isolate and gently boost suspect zones by +6 dB, then sweep across the spectrum. When you hit an unpleasant peak (sibilance, ringing, boominess), note the frequency and dip it instead of boosting.[4]
Example: If voices sound thin and harsh at 3-4 kHz, you don't boost there; you may dip slightly or leave it flat depending on your headset's native response. This is where measurement tools like the Harman Target Response Curve become useful as a reference starting point, though personal preference and headset type always win.[3]
Now switch to the actual game with your curve applied. Listen specifically for:
If anything feels off, make a small adjustment (±1 to ±2 dB, never ±5 dB jumps) and re-test. Small tweaks teach you what each frequency does.[1]
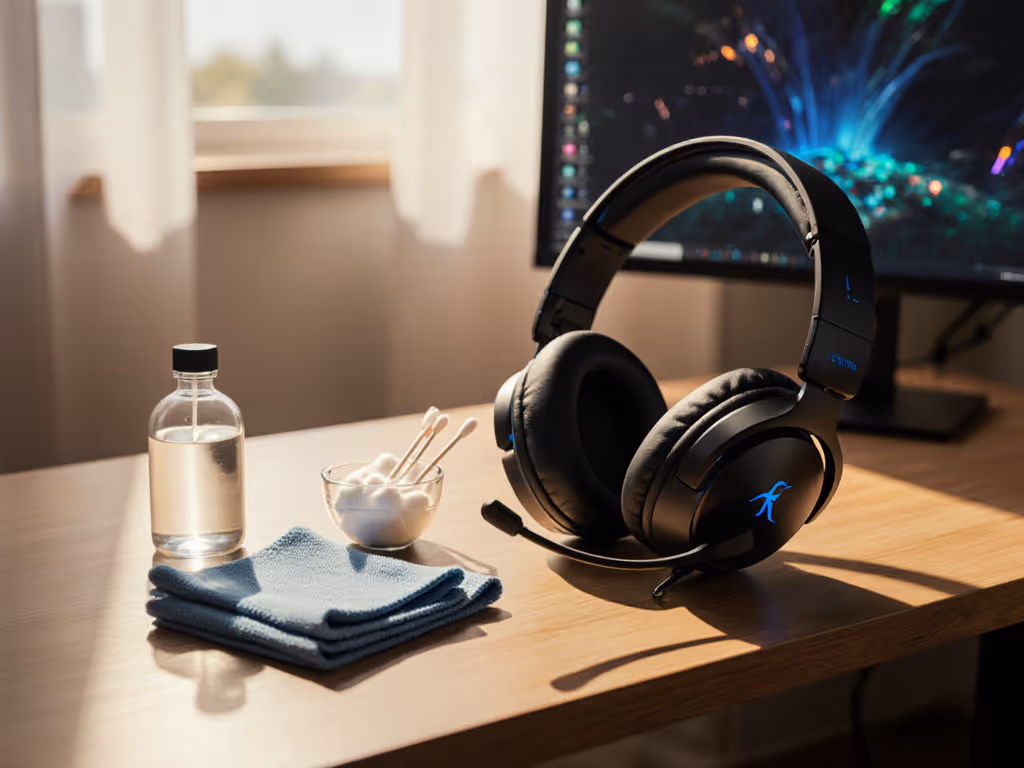
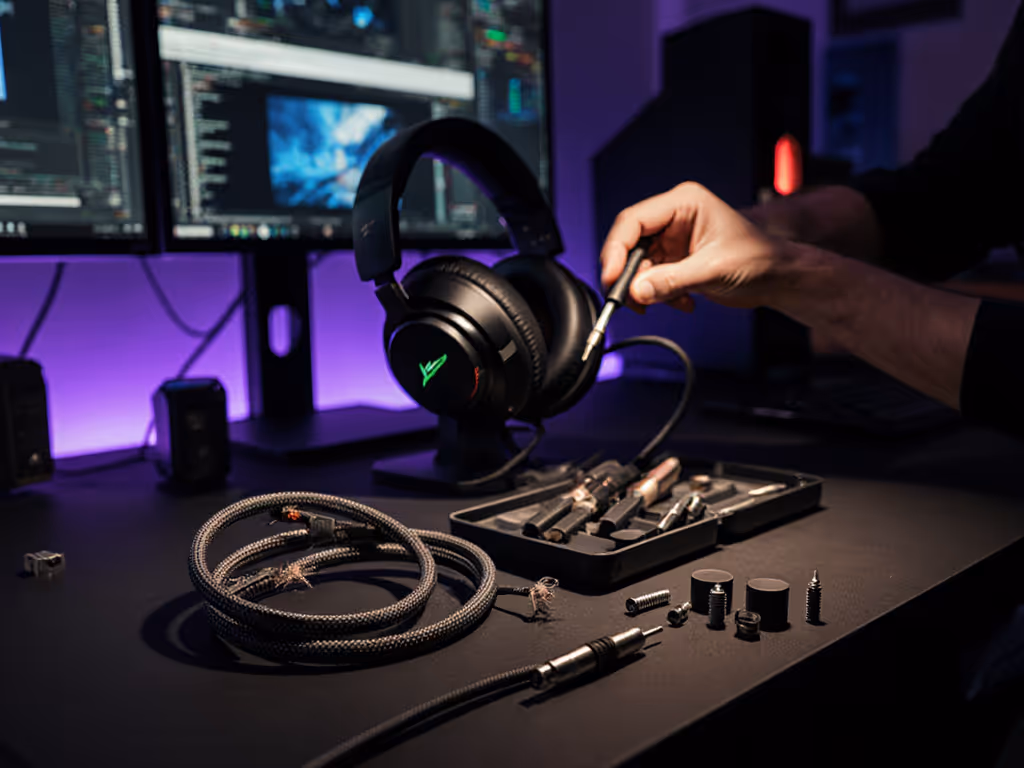
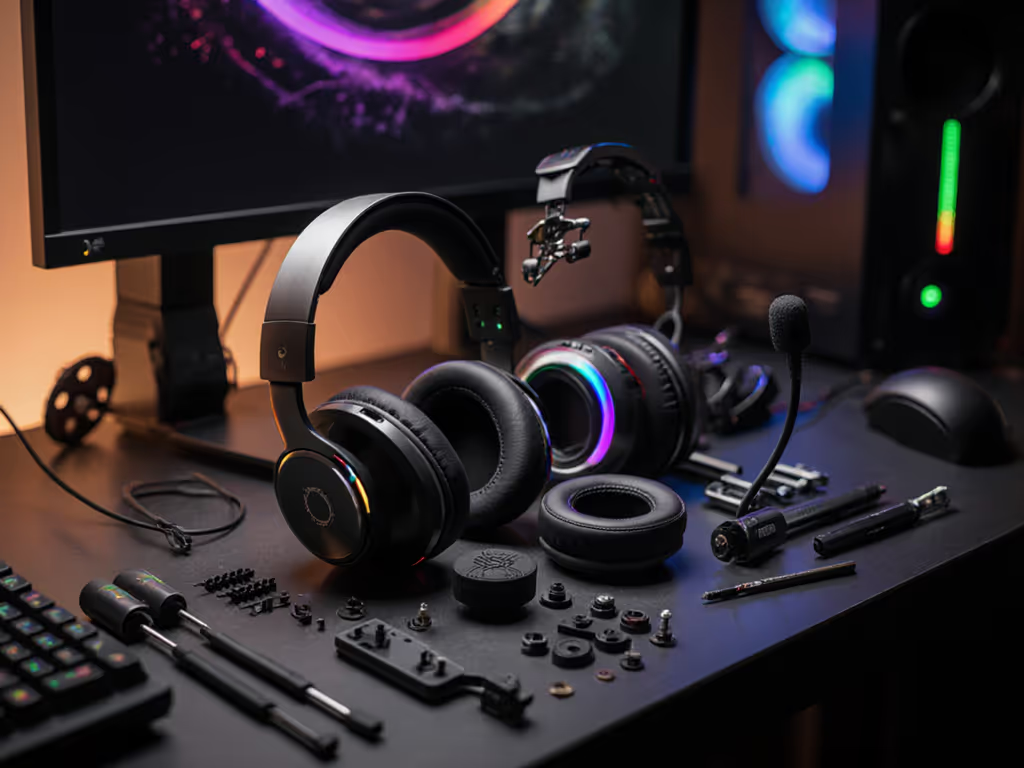
Software EQ is half the story. Your actual calibrated gaming headset experience also depends on:
If you play on PC, PS5, Xbox, and mobile, your settings scatter. Here's how to keep them portable:
Valorant_CompetitiveFootsteps.txt, Elden_Ring_Cinematic.txt.This redundancy feels tedious, but it's your insurance against a firmware update silencing your comms mid-match.
If your headset software doesn't expose parametric EQ controls, your best path is free third-party software. Equalizer APO (Windows) and SoundSource (macOS) integrate into your system audio and work with any headset.[1][4] Mobile options like Wavelet for Android include a built-in AutoEQ database tied to specific headphone models, automating much of the curve-finding work.[4]
If software isn't an option and you're stuck with a preset-only interface, experiment with whatever presets exist and pick the least fatiguing one. It's not perfect, but it's better than pushing your headset to limits it can't sustain. Some headsets also pair with external DACs (like the Qudelix-5K) that handle EQ independently, if your platform supports it.[4]
Headset calibration isn't a one-time task. Game patches, driver updates, and even seasonal shifts in your go-to titles can drift your optimal EQ. Schedule a re-check every 2-3 months: load your profile, play a 30-minute test session, and confirm it still reads clean. If an update changes your headset's firmware, recalibrate from your documented baseline rather than rebuilding from scratch.
The payoff is hearing every footstep, callout, and detail as designed, and never wondering if audio was the reason you missed a play. Start with one genre, dial it in with patience, then build out profiles for your full rotation. Your next few hours of gaming will feel sharper, your teammates will hear you clearly, and your ears will thank you for skipping the fatigue. That's what a gaming headset calibration guide built on stability actually delivers.
Explore your headset's native software deeper; many users never open the advanced tabs. Check if your game has audio settings worth tweaking (dialogue vs. effects sliders often interact with EQ in ways that matter). For step-by-step setups across platforms, use our game audio balance guide. And if you're curious about the science, dive into calibration tools like AutoEQ or the Harman Target Response Curve framework. They won't pick your EQ for you, but they'll show you why certain curves work, and that understanding beats any preset.